
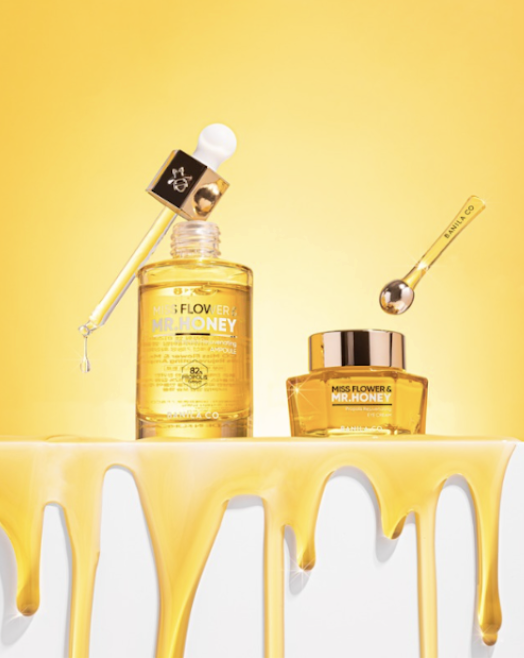
Introduction to Product Photography: The Complete Guide
Note: You may not think product photography is for you, but if you’re a UGC creator or other content creator, it’s an easy additional skill to learn. Then, you can offer more services to clients!
Disclaimer: This blog post contains affiliate links, meaning if you make a purchase, I may earn a small commission at no extra cost to you. That being said, I only share links to products and services I love, pay for, and/or use myself. Thank you for supporting me by using my links!
Gear
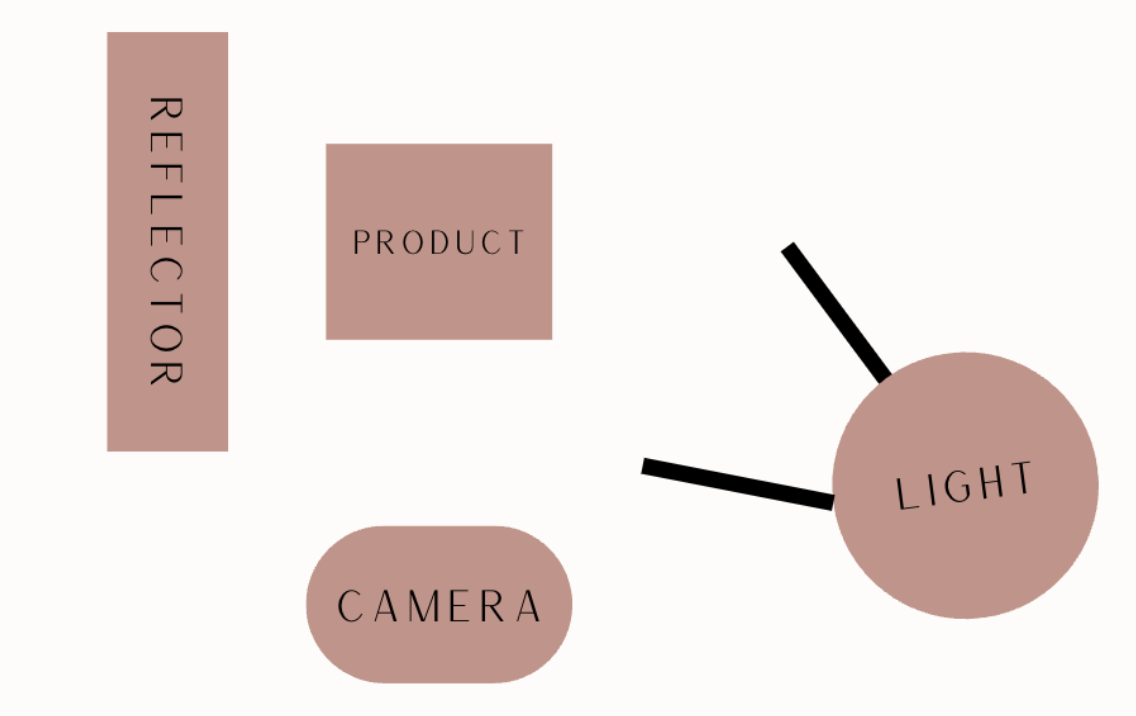
Camera
For UGC, a lot of creators use their phones and are very successful doing so. If you decide to go this route, you’ll have to use a phone with a great camera.
Alternatively, you can use a DSLR for your content creation. I personally prefer Canon, and use the Canon EOS Mark IV for my product photography, but both Nikon and Canon both have incredible options for different budgets. Some include Canon EOS Rebel T7i and Nikon D3500.
You can also go the mirrorless route for a smaller camera. Sony is probably the top choice if you’d prefer a mirrorless camera.
The only thing I wouldn’t recommend if you decide to use a camera is using a point and shoot. This is a type of camera where you can’t change the lenses.
When looking for your camera, I recommend going to a camera store and holding multiple camera bodies. They will all feel a little different and find one that feels right in your hands. This is how I ultimately chose my cameras after looking at specs.
Lenses
For product photography, I love using a macro lens. This helps me get clear close ups of textures and products. I use the Canon 100mm 2.8 macro lens that I bought from LensRentals. I also use the Canon 50mm 1.8 lens when shooting a larger scene or group of products.
Tripods
Tripods aren’t always necessary, but can come in handy in a few situations. They come in handy for videos, especially when both hands are in the frame, and low light shots with a camera.
Buy a phone tripod on Amazon here.
Buy my camera tripod on Amazon here.
Lighting
You can make a full-time income as a content creator using just natural light, either shooting outside or near a window. If you’d like to get into artificial lighting, there is constant lighting and strobe lighting. Strobes can only be used with a camera and only still photography. They also require a transmitter and receiver for use.
An easier way to get into artificial lighting is to use a constant light. Godox has some good options for this! Just be sure to purchase a “constant light” or “video light”, like the SL-150W.
You’ll also need to purchase light stands if you get a light. You can buy one on Amazon here, and a more cost-friendly one here. I own both and while the first is sturdier, the other works fine as well.
Lighting Modifiers
As for lighting modifiers, you can use a soft box to soften the artificial light, or you can DIY it yourself.
Using 2 light stands and clamps, hang a white bed sheet or shower curtain liner in front of your light. You want to make sure the item you choose is white and slightly transparent. You can also use the diffusion panel of a 5-in-1 reflector. *Don’t put it super close to your light as you don’t want the sheet to get too hot.
If you want harsher shadows, don’t put anything to diffuse your light in front of it.
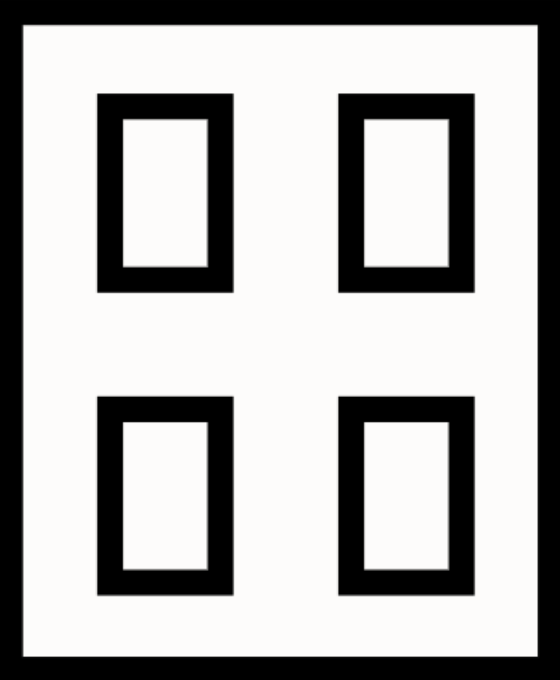
You can also cut foam boards to look like windows or other shapes to put in front of your light to create different lighting. To make the shadow sharp, bring the foam board as close to your scene as you can without it being in the photo, and take your light far away from the shot. This will make the shadows harsher and create a look like the photos below. To make a similar window, cut the foam board like the graphic.
Other Supplies and Hacks
Gaffers Tape
Gaffers tape is great for holding up vinyl backdrops, paper, and more. It holds really well, and is used on sets, so it doesn’t peel off paint.
Buy on Amazon here.
Glycerin
Ever see product photos with water drops on the product and then try it on your own and wonder why yours won’t stay? It’s because they use glycerin! Mix a 50/50 ratio of water and glycerin in a spray bottle and shake and use that for water droplets.
Buy glycerin on Amazon here.
Buy spray bottles on Amazon here.
Floral Foam
Use dry floral foam to hold up flowers or acrylic rods holding products.
Buy this at your local craft store or online.
Helping Hands
Helping hands help hold up fabrics, foam boards, props, flowers, and more. They work by having a clamp attached to a magnetic board.
Buy on Amazon here.
Clamps
Clamps help hold up seamless paper rolls, reflectors, props, and more. They are typically bigger than helping hands and are able to hold more. They can also stand on their own without the magnetic board, but they don’t hold fabrics and smaller objects as well as helping hands, so I’d recommend keeping both on hand.
Buy on Amazon here.
Reflectors
To control the light in your setup, you can use a reflector to bounce light in different directions. The silver and white sides of the reflector both reflect light, but in different ways. Place the silver or white side facing the product, and position it on the opposite side of your light source, making sure the light is directed toward the reflector. The silver side reflects more light, creating a brighter, more intense effect, while the white side reflects softer light, giving a gentler and more diffused look.
The gold side of the reflector also reflects light, but it adds a warm tone to the scene. This is ideal when working with natural sunlight, as it enhances the warm glow, but it may not work as well with studio lighting because it can create an unnatural orange hue.
The black side absorbs light rather than reflecting it, which can help create shadows. If you're shooting a white product on a white background, using the black reflector will add separation between the product and the background by creating shadows. For a moodier look, you can use the black reflector to absorb some of the light and create deeper shadows throughout the scene.
Experiment with all the sides of the reflector to see how each one impacts the lighting and shadows in your shot, and adjust them to achieve the look you're aiming for.
Buy a 5-in-1 on Amazon here.
Foam Boards
You can use foam boards in place of a reflector, in addition to a reflector, as a background, or a black on to block light and create shadows. I typically keep a few white and black ones on hand at all times.
Buy them at your local craft store or Walmart.
Skewers
Use bamboo skewers to hold up small products and props to help create floating images.
Buy on Amazon here.
Acrylic Rods
Acrylic rods are great for holding up props and products because since they are clear, they can easily be edited out of a photo. Use hot glue or tape to hold things up with them. Extra tip - Stick the bottom end into floral foam to help it stand up straight.
Buy them from a plastics store like the one here.
Mounting Putty
Mounting putty can be used in many ways. It can hold up backdrops, hold props, stop circular products from rolling away, and hold products still when working with water. This is a very versatile tool that comes in handy a lot!
Buy a pack on Amazon here.
Fishing Line & Wire
Another way to make things “float”! Use fishing line and wire to hold up props and products that are lighter weight.
Buy fishing line on Amazon here.
Buy wire on Amazon here.
Syringes
Use large syringes to place liquids more precisely, or mix paint and water and squeeze it into a fish tank to create a photo like this:
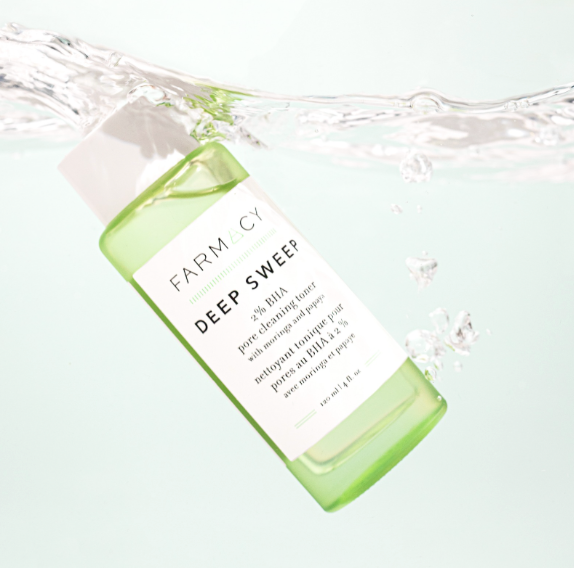
Attaching the product to the acrylic rod with hot glue and dunking it into the tank will give you a lot more control than just dropping the product into the water. The only thing is that you’ll have to edit out the acrylic rod from the photo afterwards. You can also add a paint and water mix with a syringe like in the tip on the last page.
Buy a fish tank from your local pet store. I’d recommend sticking to 2.5 gallons.
Acrylic Sheet
Use a clear acrylic sheet to protect your backdrop from product textures and props like cut fruit, or to add a slight reflection to your backdrop.
Buy them from Canal Plastics here.
Acrylic Tray
Use an acrylic tray for water shots! Make sure to stick your product to the dry tray with mounting putty before pouring in any water, otherwise the product may move when water is added.
Backdrops
Vinyl
Vinyl backdrops are an amazing investment for your content creation business. They are typically 24x36 inches, which makes them big enough, but also easy enough to roll up or hang to store.
Most stores have a huge selection of different colors and designs like marble, tiles, and even wood and walls. You can also order custom colors and patterns of vinyl backdrops from certain places like Club Backdrops, which helps when color matching for a brand’s colors.
The only negative I’ve found with vinyl backdrops is when using a dark color and a hard light, sometimes there is a glare on the background that you’ll have to work around. You can work around this by moving your light, using softer light like using a soft box, changing your shooting angle, or editing it out afterwards.
Where to Buy:
Club Backdrops
Painted MDF Boards
MDF boards are great for product group shots as they are about a foot longer than vinyl backdrops. Unlike vinyl, there is not a glare on darker colors.
The key to painting these is to use a satin finish paint and a smooth-semi smooth surface paint roll cover.
These are great because you’re able to match paint colors to brands without having to order a ton of backdrops. You can easily paint over the board again when you have to change colors. The only negative is that there is a lot more prep time needed.
Where to Buy:
Home Depot
Lowe’s or other hardware/paint store for Paint and Supplies
Seamless Paper
Seamless paper is great for larger scenes, because you can roll out as much paper as you need.
The pros for seamless paper are that it doesn’t leave much of a light reflection like vinyl does, but it also doesn’t require as much time and effort as painting an MDF board does.
The drawback to seamless paper is that sometimes you can see threads if it’s a close up shot. The other drawback is that you can’t put product texture or props like fruit directly on the paper like you can with vinyl because it will leave a wet mark. You can overcome this by putting a clear acrylic sheet on top of the paper, that will act as a barrier that you can easily wipe off.
You can hang these by cutting pieces of paper as needed and using tape or use a backdrop stand like this one.
Where to Buy:
B&H
NOTE: Another Resource for Backgrounds - Replica Surfaces
Other Materials
Tile
You can use any type of peel and stick tiles on foam boards. You can also use real tile on an MDF board. You can get peel and stick tile from Amazon, and tile and supplies from a hardware store.
Acrylic Sheets
Use acrylic sheets for a slightly reflective background. They come in many colors, or you can use a clear one over your backdrop to either protect your backdrop from product textures or to add a reflective floor. You can purchase these from TAP Plastics or Canal Plastics.
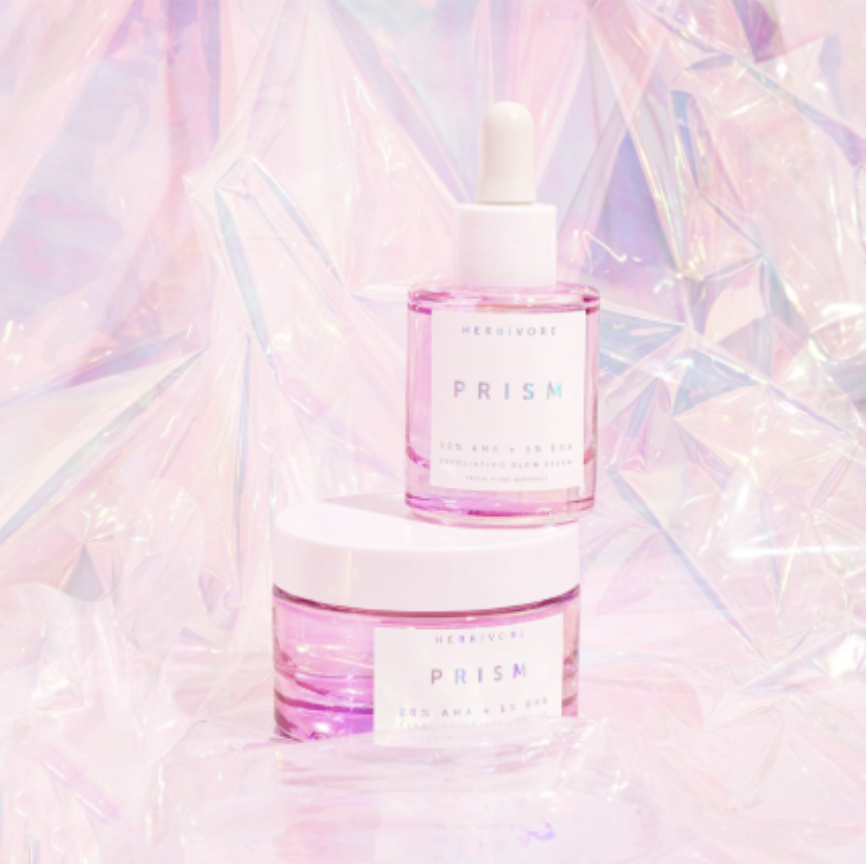
Cellophane
Get iridescent or colorful cellophane from your local craft store like Hobby Lobby by the roll. Crinkle it over your backdrop.
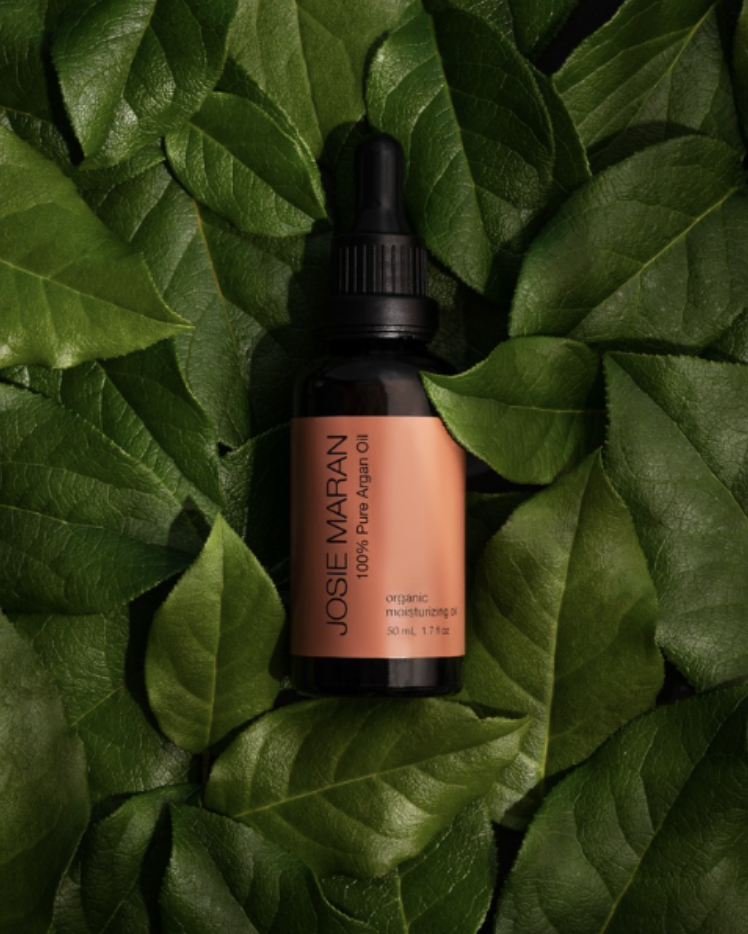
Moss/Greenery
Cover your background in moss or leaves/greenery with your product on top for a natural, earthy feel. You can get moss from your local craft store, and fresh leaves from grocery stores and flower shops.
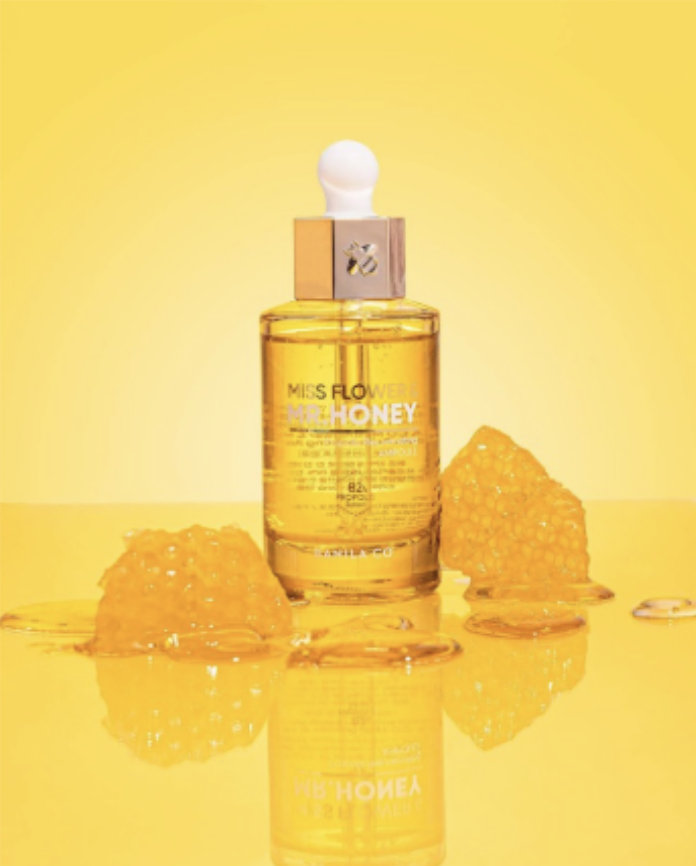
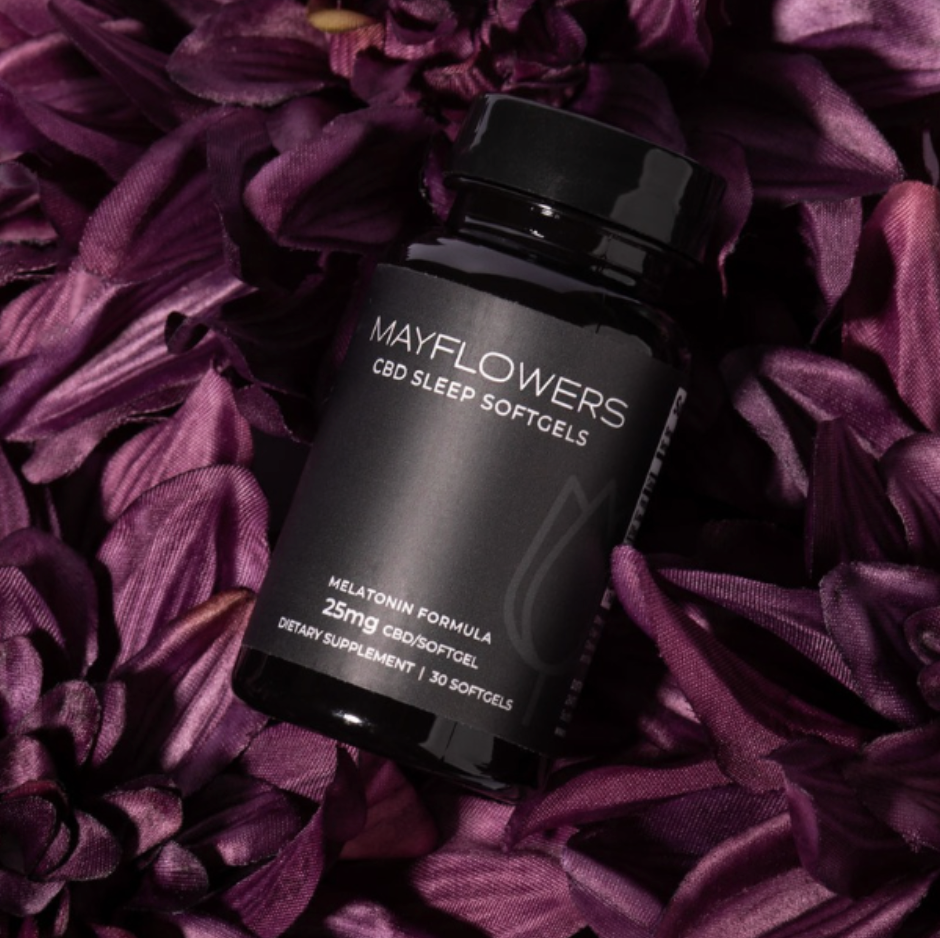
Flowers (faux or fresh)
Use fresh florals or faux florals from Amazon, Hobby Lobby (or other craft stores), or Afloral as a background.
Posterboard
To get a white or black backdrop, use a white foam board or poster board. For black, you may have to use another black foam board to cut the light and create a shadow on the background to make the black foam board darker. You can also use different color and texture poster boards as backgrounds! Buy these from your local craft store or Walmart.
Fabric
Use different types of fabrics as a background. You can get fabric online, or from your local craft store. Try fabrics like satin, velvet, faux leather, or even a bedsheet or white button up shirt.
Mirrors
You can use clear mirrors, or different color mirrors like gold to create a different look. Just make sure to add a backdrop to your wall, so the mirror reflects that instead of the wall. I got my gold mirror from TAP Plastics, and my clear ones from Home Depot.
Curtains
For a different fabric look, hang curtains from a backdrop stand and use that as a background! Hang them like curtains so they have some folds for added texture.
Sky
Use a sky background from Club Backdrops or Amazon, or edit in your own!
Texture
Use product texture as the background!
Ice/Snow
For a snowy background, use instant snow from Amazon here. For an ice background, fill a tray with water a little bit and put it in the freezer. Once that’s frozen, take it out and fill it up a little more with water and lay the product in. Place it back in the freezer and take it out when frozen. Then use a hammer or screwdriver to break the ice up a bit to add texture. Place the tray on a blue background for an icier look.
Water
Pour water in a tray on a colorful background with your product stuck in it with mounting putty.
Prop Ideas
Glass Shelf
For that fun “shelfie” look, use a glass shelf, like this one, and balance it on two blocks (make sure they are the same size) in front of a background.
Skincare Spatulas
For photos and videos with skincare in jars, use a skincare spatula to play with texture. These work better as props than the palette knives, because they look nicer in shots. They don’t make swatches as nicely as palette knives do, so I only recommend using them as props or to play with texture in a skincare jar in a video. You can get a pack on Amazon here.
Stones/Rocks
Stones and rocks make great props for eco-friendly or natural looking products. You can find small rocks and stones outside or from a local store like Lowe’s, but my favorite stones are from il Pietra. I use the Travertine!
Florals
Include fresh or artificial florals in your product photos and videos! You can get fresh florals from your local grocery store or flower shop, and artificial ones from your local craft store, Amazon, or Afloral.
Greenery
Similar to florals, use fresh or artificial greenery in your content. I like to get fresh greenery from Sam’s Club online, and artificial greenery from Amazon or Afloral. You can also use artificial leaves to cast shadows on the background like these palm leaves.
Fabric
Similar to using fabrics as backgrounds, you can also drape them partially in shots in front of a solid background for added texture.
Fruit
Whole and cut fruit also makes a nice summer prop! Add the fruit in a mesh bag for a different look. You can also highlight fruit that is in the product you’re shooting.
Ingredients
Highlight certain ingredients or scents in the products you’re working with and use those ingredients as props.
Trays
Different trays of all sizes can be a nice addition to a photo! Check out some examples here, here, and here.
Scrunchies
Scrunchies make a fun addition to a flatlay for a product! You can get them here.
Bathroom Accessories
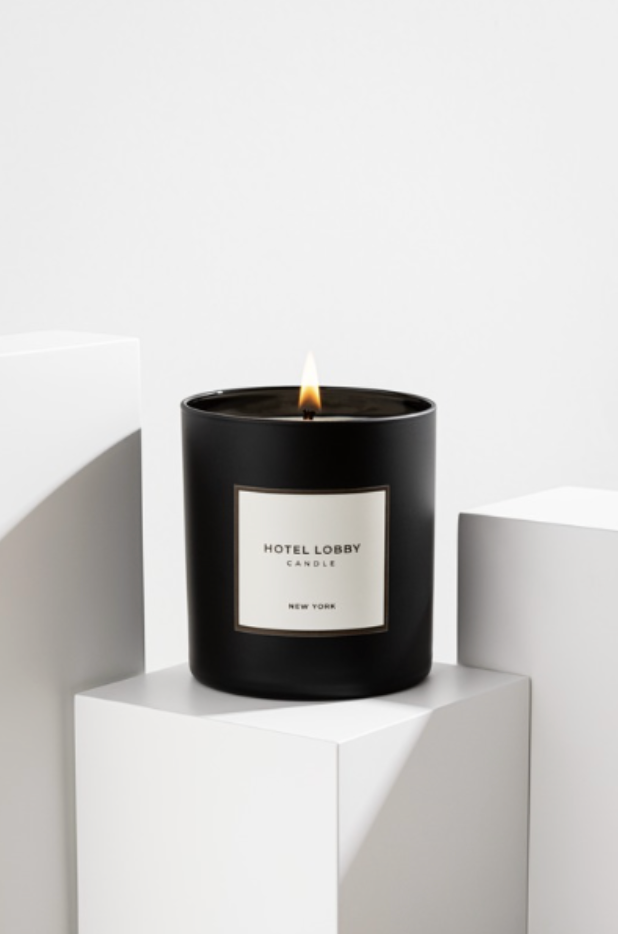
Props like trays, plants, q-tip holders, towels, mirrors, soap bottles/trays, candles, etc. can help set a bathroom counter scene. You can find some of my favorites here.
Ribbon
Glasses
Glasses can be a fun prop OR a way to reflect light in a photo or video. If you want to use it to cast a fun shadow, fill it with water and set it between your light and product.
Blocks
My all-time favorite blocks are from Moodelier, but they can be a bit pricey! You can also get foam blocks from Amazon, colorful gift boxes from Amazon, or wood blocks and paint from your local craft store!
Mirrors (Small)
Holiday Props
Wrapped boxes, ornaments, ribbon, etc. can help set the scene for a holiday shoot.
Acrylic Blocks & Spheres
Acrylic blocks are great for using as a product stand! They also make a fun prop. Get acrylic blocks here and spheres here.
Working with a Brief
A brief is an outline of the project given by the client.
Sometimes brands will already have a brief prepared when they reach out to you for a project. The brief should cover the overall project/goal along with the products that will be shot. It may also include inspiration photos or mood board and list out where and how the end assets will be used.
The client may also provide brand guidelines that cover brand colors, styles of assets, the mood of the brand, and more. Sometimes brands will ask you for a shot list based on the brief, or may also include a shot list and/or script.
When working with a client’s brief, ask questions! Now is the time to go over the brief and get anything clarified with the brand so there’s no miscommunications.
Creating Your Own Brief
If the brand doesn’t provide a brief, there are questions you can ask them to get on the same page about the project, and to help quote them if you custom quote.
Here are some questions to ask:
List the products that will be shot
How many images do you need?
What is your budget for this project?
Where will the final assets be used?
How long will they be used?
Are there specific props that you’d like me to use or not use in the shoot?
Do you have a deadline for when you need the assets delivered?
Do you have a mood board or shot list prepared?
Do you have examples of product photography that you like?
These questions should help you get a better idea of what the brand is looking for so you can not only give a fair quote, but you can also best prepare for the project. Send over a questionnaire with these questions, or talk through them over a discovery call.
Concept Development
Some things to consider when building a concept or mood board for a project:
Research the product! Look into the product’s features, textures, ingredients, and selling points as this will help guide you with your photo creation.
Research the brand! Look into the brand’s values, style, and tone of voice. Your shoot should align with the brand’s identity and overall vibe.
Consider the mood you want to show. This will help guide your concept development the most! Does the brand give off a modern look, or is it a more natural, sustainable product?
Tie in styling and lighting. We’ll talk more on these later, but the styling and lighting you choose will also help tell the story of a product and brand!
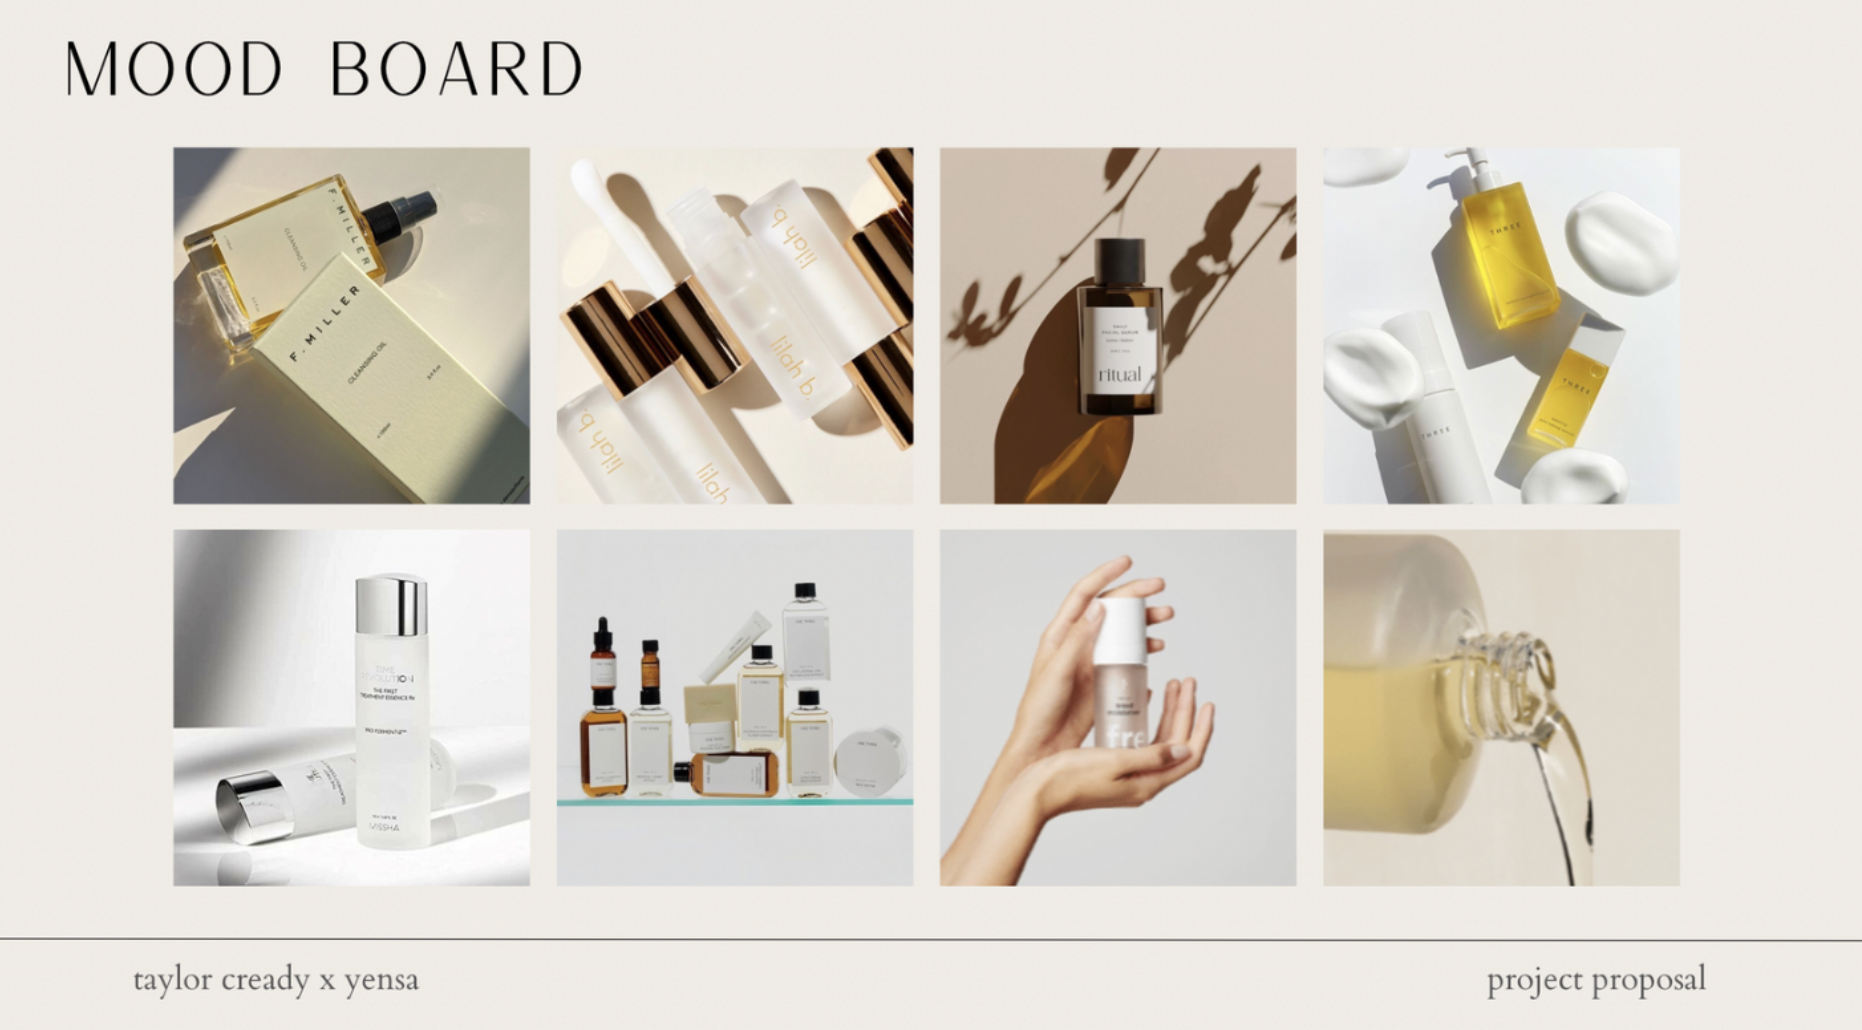
Mood Boards and Shot Lists
Mood boards can sometimes be provided by the brand, or put together by you using info from the brief or questionnaire. They are a mix of inspiration or aesthetic photos that will convey the final look of the shoot.
A mood board helps you and the brand get on the same page and shows the brand the type of assets you will be creating or helps the brand give you further direction when shooting.
If you’re sending a pitch to a dream client, you can also include a mood board to help the brand see your vision.
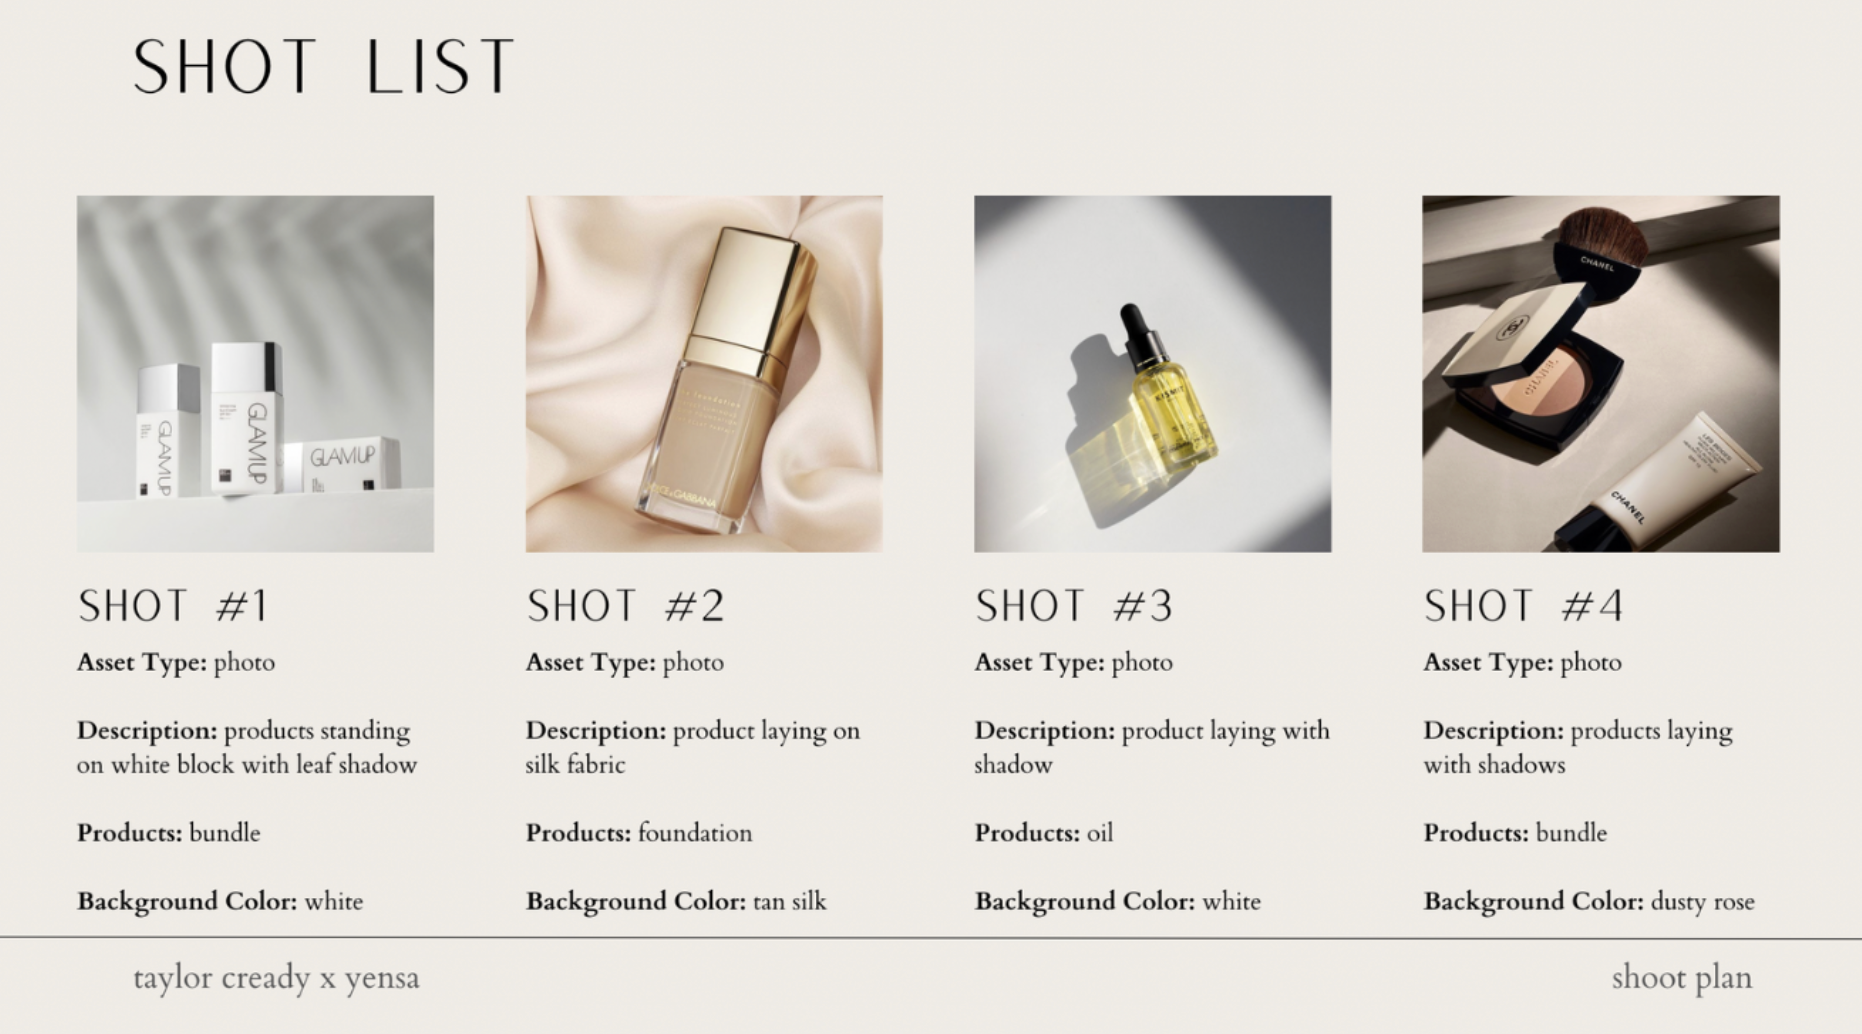
Like mood boards, shot lists are also sometimes provided by the brand, but are sometimes put together by the creator. They are created from the mood board and brief and give further direction on the project.
Usually, the brand will list out the products they want featured in each shot, but then want you to think of an idea for each asset, but I have also had brands send me something similar to the photo below.
If they don’t provide something similar to the photo below, you can create and send one to the brand for approval. These help a TON with reducing revisions because everything is so thorough before the shoot even takes place.
Here’s an example mood board and shot list:
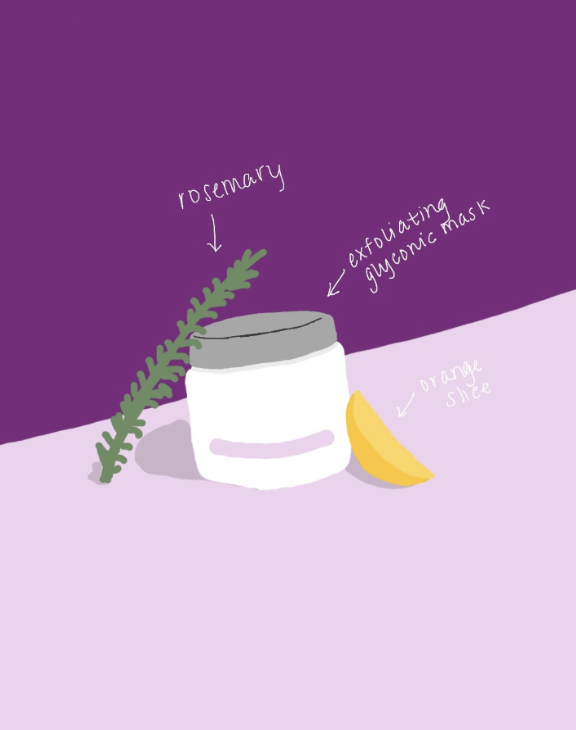
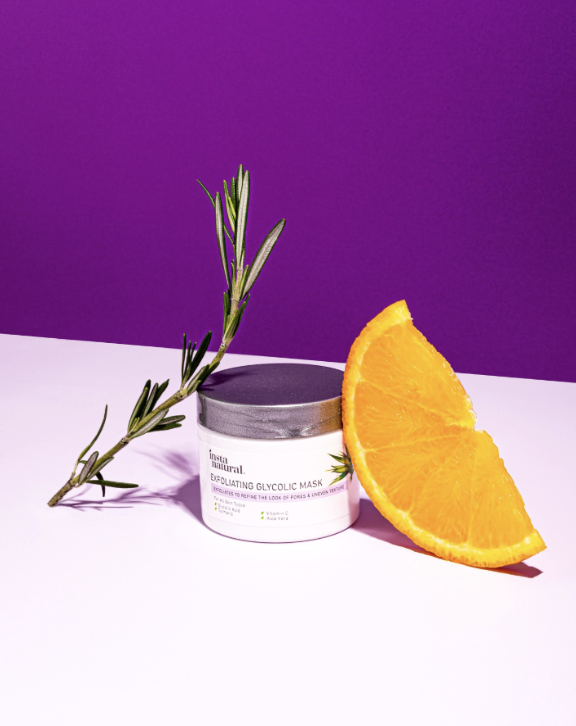
Sketches
Sketches can be useful in working with clients to ensure you’re on the same page. They can be super quick black and white sketches and don’t need to take a lot of time. However, I don’t recommend spending too much time, if any, on these if the job isn’t paying a lot, as your time is worth something! When I do include sketches, I usually add them to my shot list for brand approval.
Here’s some of my sketch + final photo examples:

Choosing a Light Modifier
Choosing the lighting of your shoot is an important part of telling a brand’s story and helping convey a certain mood.
Some products/brands call for hard light with bold colors and harsh shadows, while others call for a calmer and softer look. It’s important to keep the brand and product mood in mind when shooting!
If you’re using natural light and you want softer light, try to shoot in the morning or evening when the light is softer, or you can add a light sheer curtain to help diffuse the light. If you’re looking for hard light, shoot in the afternoon when the light is harsh and don’t use any curtains. You can also think about light temperature at this point! If you want the photos to be warm, shoot during golden hour (about 1-2 hours before sunset) when the light is more orange.
If you’re using studio lighting, use a diffusion panel for softer light and no diffusion for hard light. To make the light even harder, move the light farther away from your subject, and make it softer by bringing it closer.
One thing to note, if you do plan on using a flower or leaf to cast a shadow on the background, you’ll need to use hard light, which means no diffusion or modifier. You’ll also want to pull the light farther away from your scene to make the shadow more defined.
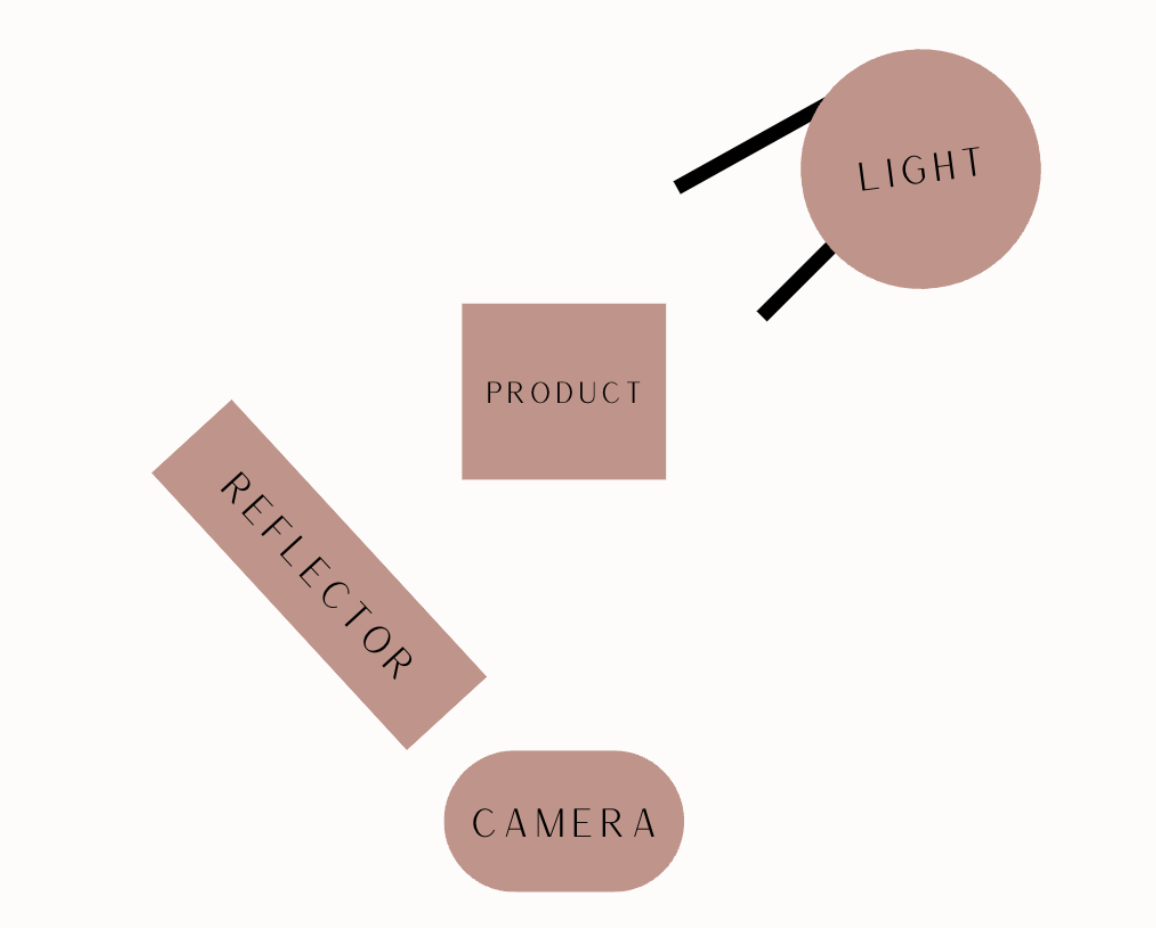
Light Placement
For light placement, I typically place my light on one side/slightly in front of the product and place a reflector on the other side of the product to help fill shadows.
I also sometimes backlight my photos by putting the light at an angle behind the product (not directly behind) and a reflector in front of the product at an opposite angle
Styling
Use your concept, mood board, and brief, to help style your shoot. Your styling should go with the overall brand vibe. Here are some things to consider:
Focus on color! For example, if the brand colors are neutral, you shouldn’t film in front of a hot pink background or neon color shirt. You can also use color theory to choose colors.
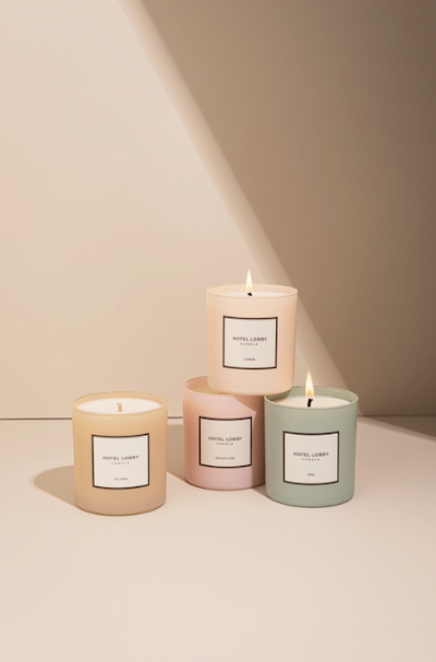
Set the mood! Use minimal or soft props for a calm mood, bed time props for a sleepy mood, or bright colors for a fun, bold mood.
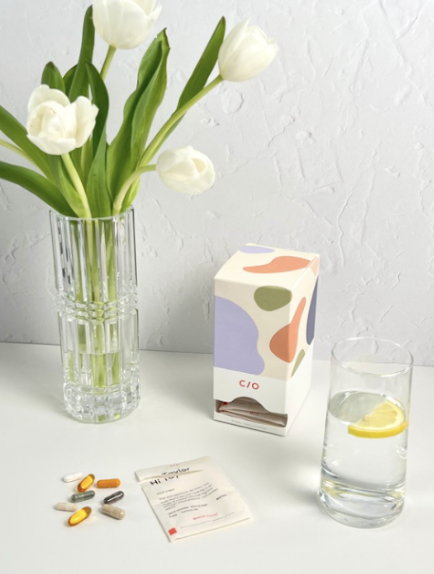
Choose props carefully. Choose props that complement and help feature the product. For example, use stones and greenery for a natural brand, or colorful blocks for a poppy, bold brand.
Add textures! Adding textures can add depth to your shoot. Play around with fabrics, stones, and other textures.
TIP - Wipe your product with a microfiber cloth before shooting it to remove any fingerprints, especially reflective products! You can also use cloth gloves when shooting if your hands won’t be in a shot!
Making Things “Float”
Making products or props “float” is a way to create a fun piece of content! This is something you can only do in photos since it requires some editing.
To shoot, attach your item you want to float to a piece of wire, fishing line, skewer, or acrylic rod. Place it in the photo where you want it to be in the final shot and take the photo. To make it easier for editing, try to keep the object that will be edited out in front of a solid color as this will edit out cleaner.
In Lightroom mobile, use the healing tool and draw over the wire, skewer, acrylic rod, fishing line, or the thing holding up the product or prop. This will remove the object!
In Photoshop desktop, use the spot healing brush tool. You can also try to use Photoshop’s new AI tool and make a selection around the object and type in “remove”.
Here’s a before and after example I did a few years ago:

Making a GIF
GIFs/stop motion videos are a great asset to offer brands because they are so fun and engaging. It’s basically a lot of photos that come together to make a short video.
To start, get your idea! Know what you want to move or happen in your GIF before you begin shooting. Then, set your phone or camera up on a tripod. Any movement of the camera can mess up your GIF.
For lighting, I recommend using a constant light as opposed to a strobe because the strobe output can vary and cause “flicker” in the GIF. If possible, I would also recommend a constant light to natural light. Clouds can move and natural lighting can quickly change, which can make the GIF look off. You may be able to still make this work, though, if it’s sunny/midday and you’re quick!
To shoot, take a photo of your opening scene. Then move the object you plan on moving slightly and take another photo. Keep repeating this process until you have all of the photos you need.
To edit, use an app like Vixer to add all of the photos to a new project in the order you took them in. Once all the photos are added, speed up the video so everything moves quickly.
Once it’s done, it should look like this one I created.
Editing Tips
Photo Editing Tips:
Keep the product clean and natural looking.
Remove dust/dirt from products and background.
Use color grading and temperature to convey a mood.
Make the photo brighter for a clean look, and make it darker for a moodier look, but keep the product legible.
Use aspect ratios provided by the brand, or optimize for the platform it will live on, for example 4:5 for Instagram.
Sharpen the labels.
Apps and Tools
Photo Editing
Lightroom Mobile
Lightroom Desktop
Photoshop
Video Editing (Bonus)
Lightroom Mobile
Vixer
CapCut
Final Cut Pro
Mood Board/Shot List Creation
Canva
Google Slides
Sketches
Procreate
Brief Creation
Google Forms
Dubsado
Bonsai
Honeybook
Resources
Phlearn
https://phlearn.com/?gclid=Cj0KCQjwhfipBhCqARIsAH9msbmlJH3KXVtb_dPKgEL-e0m_2IglM2gTAUZb-t1aNgkEmNgWuIMsGaYaAhO1EALw_wcB
KelbyOne
https://kelbyone.com/?gad_source=1&gclid=Cj0KCQjwhfipBhCqARIsAH9msbnSIsBneVZuIglkhgspdHlmedqQXVt7SZWKF2K8o6r5HVYQT8_rXVUaAmxnEALw_wcB
Skillshare
https://www.skillshare.com/en/
CreativeLive
https://www.creativelive.com/#?page=1
YouTube
https://www.youtube.com